But there are times when I crave a fresh dose of greens and can’t want to wait for a harvest from the garden. Sprouts are fresh spice for any time of year. They are low in fat, filled with vitamins, minerals, protein and are ready to eat in about a week. I grab a big pinch of them and eat them as a snack. You can also toss them in scrambled eggs, use in place of lettuce on sandwiches, add to salads and wraps, and garnish the top of hot soup just before serving.
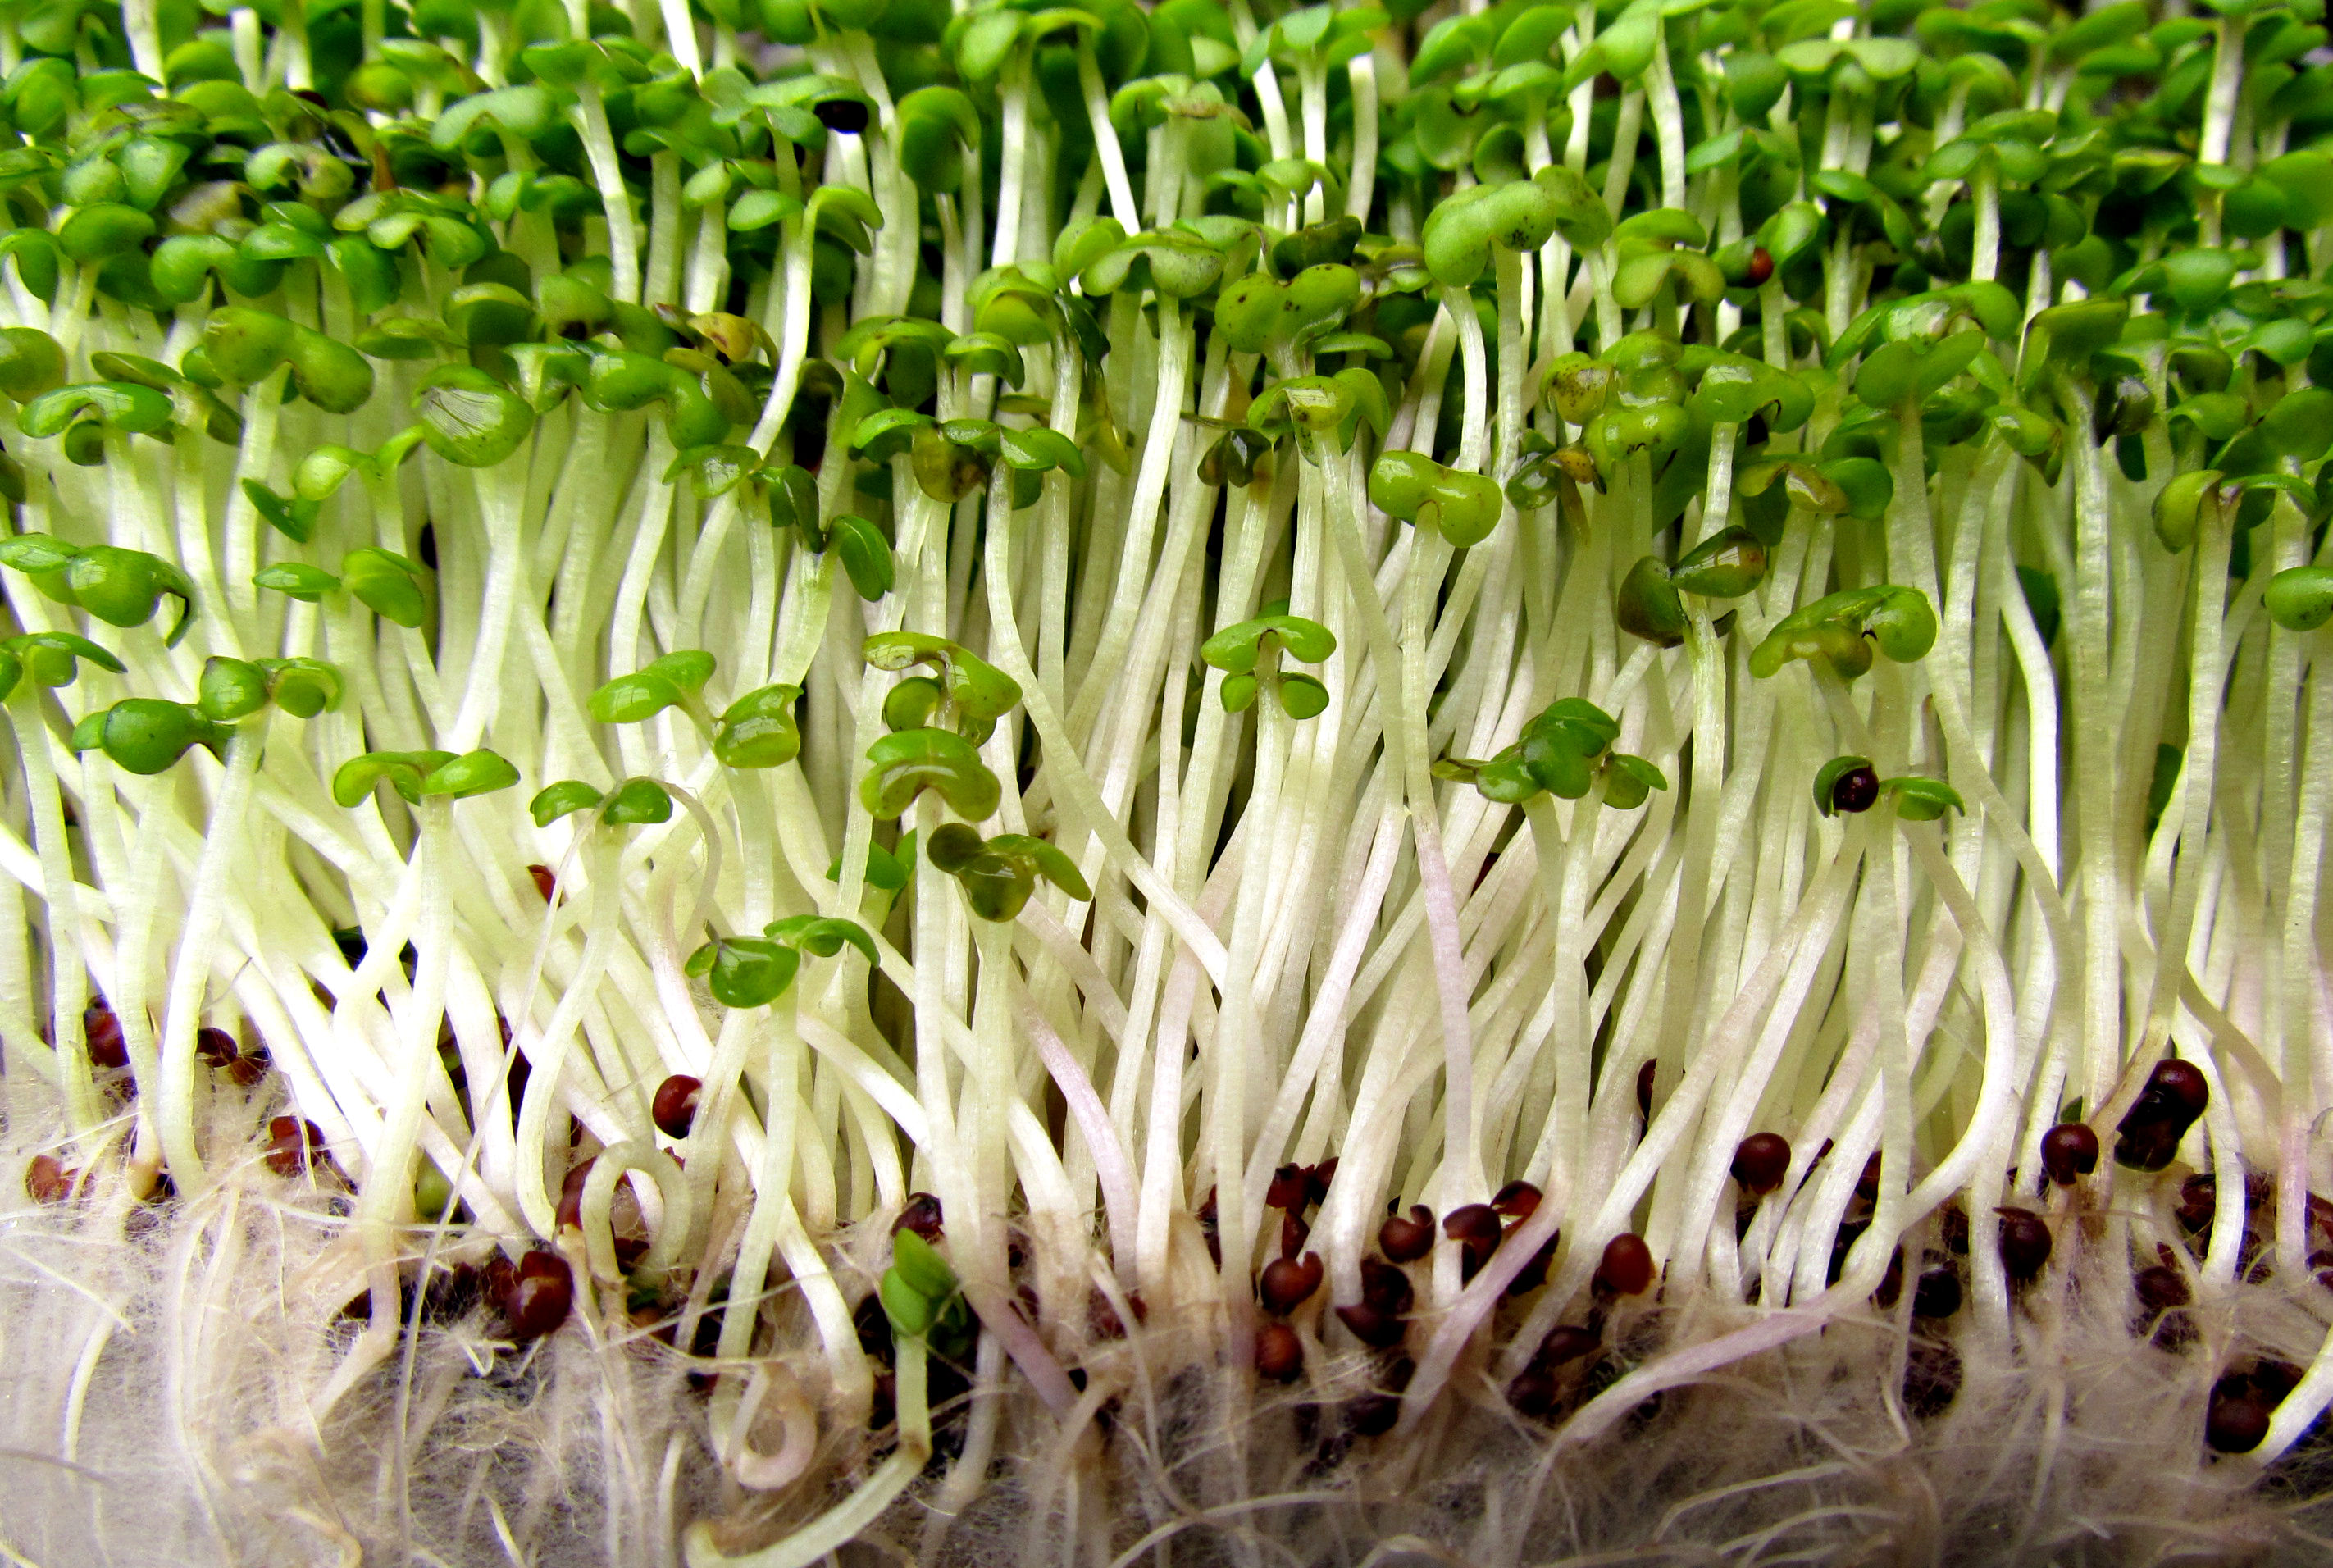 Sprouting seeds-
Alfalfa is the most common, but there are many that add unique flavors and textures.
Broccoli: a nice radish-like bite of flavor.
Chia: a bit of a tang, but much like alfalfa sprouts in texture and flavor.
Sprouting seeds-
Alfalfa is the most common, but there are many that add unique flavors and textures.
Broccoli: a nice radish-like bite of flavor.
Chia: a bit of a tang, but much like alfalfa sprouts in texture and flavor.Clover: similar in flavor to alfalfa sprouts.
Fenugreek: a mild curry-like flavor, exotic flavor,
yummy in chicken wraps.
Lentils: a bit of peppery flavor
Mung Bean: the texture is nice a crispy. Pea-like flavor.
Radish: much like the flavor of the vegetable, it will spice up any dish.
Sunflower: a nutty flavor, yummy on a hot cup of tomato soup! How-to: Use a clean glass canning jar with a sprout screen as the lid. Clean, and rinse jar to clean well. Add about 1 1/2 teaspoons of seeds to the jar
 Place a fine mesh screen on top of jar and tighten metal ring to hold in place.
Partially fill the jar with warm (not hot) water and swirl around to clean seeds; pour out water. Refill with warm water and soak overnight.
After overnight soak, pour out water and place jar at a slight angle (a counter top dish drainer works well for this) to allow remaining water to run out. Turn jar to spread seed over the inside of the jar. Rinse sprouts daily, up to 2 or 3 times, with cool fresh water-allowing the jar to rest tilted to drain out excess water. Turn jar to spread seeds on the inside of the jar. As they get larger, thicken and green up, place sprouts in indirect light. Repeat rinsing until the sprouts are lush and ready to eat, rinse well and drain before placing in the refrigerator. Keep finished sprouts refrigerated and use within a week.
Remember:
-Rinse often
-Don’t over seed, give them room to breathe.
-Keep moist,-not wet.
-Sprout at room temperature- keep fresh ready-to-eat ones in the fridge.
-Sprout with joy!
Resources for seeds and supplies:
http://www.mountainroseherbs.com
Place a fine mesh screen on top of jar and tighten metal ring to hold in place.
Partially fill the jar with warm (not hot) water and swirl around to clean seeds; pour out water. Refill with warm water and soak overnight.
After overnight soak, pour out water and place jar at a slight angle (a counter top dish drainer works well for this) to allow remaining water to run out. Turn jar to spread seed over the inside of the jar. Rinse sprouts daily, up to 2 or 3 times, with cool fresh water-allowing the jar to rest tilted to drain out excess water. Turn jar to spread seeds on the inside of the jar. As they get larger, thicken and green up, place sprouts in indirect light. Repeat rinsing until the sprouts are lush and ready to eat, rinse well and drain before placing in the refrigerator. Keep finished sprouts refrigerated and use within a week.
Remember:
-Rinse often
-Don’t over seed, give them room to breathe.
-Keep moist,-not wet.
-Sprout at room temperature- keep fresh ready-to-eat ones in the fridge.
-Sprout with joy!
Resources for seeds and supplies:
http://www.mountainroseherbs.comwww.sproutpeople.org
http://www.botanicalinterests.com


